When considering how to photograph water, you need to have a certain look in mind before you begin. Do you want the water to look milky or do you want to freeze the motion, catching each droplet as it’s own?
Each technique has its own challenges. The biggest challenge is finding the correct light. To freeze motion you require a fast shutter speed, which in turn needs plenty of light. To slow down water to make it milky, you require a slow shutter speed. For this type of shot you need low light. Let us discuss the ways you can achieve your ideal photograph.
To Freeze Motion
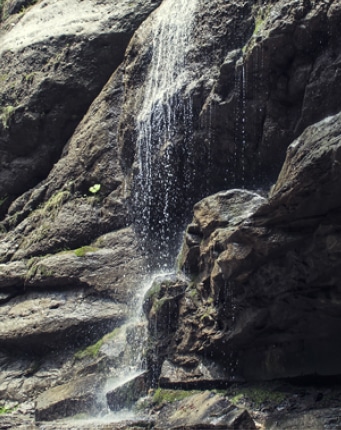
When you freeze water motion, what you are doing is capturing each water droplet. This gives you the sense that it is running water. It may not look as nice as a milky waterfall, yet it does convey the story that the water is running.
Use a tripod and set your camera to a fast shutter speed. Meter the scene and set the correct exposure. If the shutter speed is less than 1/250sec, use a smaller aperture f/number or increase the ISO until the shutter speed is fast enough.
If the scene still looks blurry, wait until the lighting conditions are better. This may mean waiting until the sun rises or coming back the next day when the sun comes up.
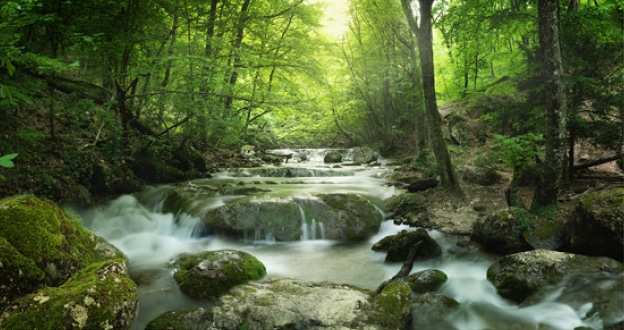
How to Blur Motion
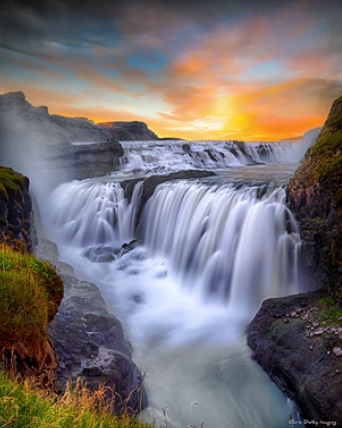
Nothing looks nicer than using long exposures to slow down water to a milky look. Long exposures are best achieved in low light. Ideal times are before the sun rises or late afternoon as the sun goes down. Below is how to photograph water using a slow shutter speed.
Use a tripod and remote shutter release and set the following camera settings.
Use manual mode with ISO 100 and f/22 aperture. Meter the scene and set the correct exposure as determined by the camera. If the shutter speed is less than 1-5sec and the water is still not blurred enough, you may need to wait until the lighting conditions become darker.
Most experienced photographers overcome brighter light with the use of a Neutral Density Filter, which we will discuss below.
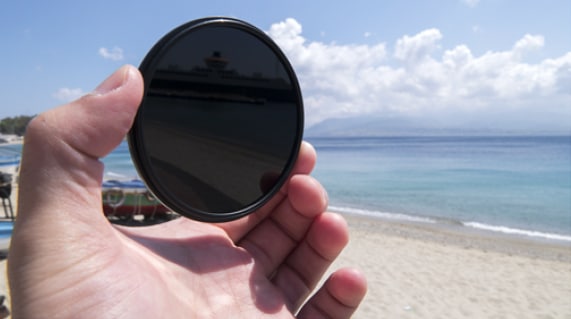
How to Photograph Water Using A Neutral Density Filter
A neutral density filter is basically a dark piece of glass that allows you to shoot at a much slower shutter speed than would otherwise have been possible. Hence it is a useful piece of gear for slow motion water photography.
Neutral Density Filters come in all strengths, with the strengths graded from 1 stop to 10 stops. 10 stop filters being the darkest. You can get round screw on filters, which are usually the cheaper option, or square filters. Square filters require a holder with an interchangeable screw bracket that goes on the lens, making the filters useable on your entire lens range.
When you attach a dark filter to your lens it will be very hard to see the scene once the filters are in place. Therefore it is best to compose, meter and focus the scene before attaching the filter.
You will then need to adjust the exposure (shutter speed), as specified by the ND filter guide. I find that if I haven’t carried the filter guide on the day, when using a dark 10 stop filter in good light, I will take a test shot at a 15 second exposure. I then adjust the shutter speed to suit.
Make the shutter speed slower if the test shot was too dark and faster if it was too bright. A 10 stop filter is sometimes called a big stopper. This type of filter allows you to slow down water even in bright sunny conditions.
Now that you know how to photograph water, you have added one of the most enjoyable genres of photography to your bag of tricks. Enjoy the great outdoors.