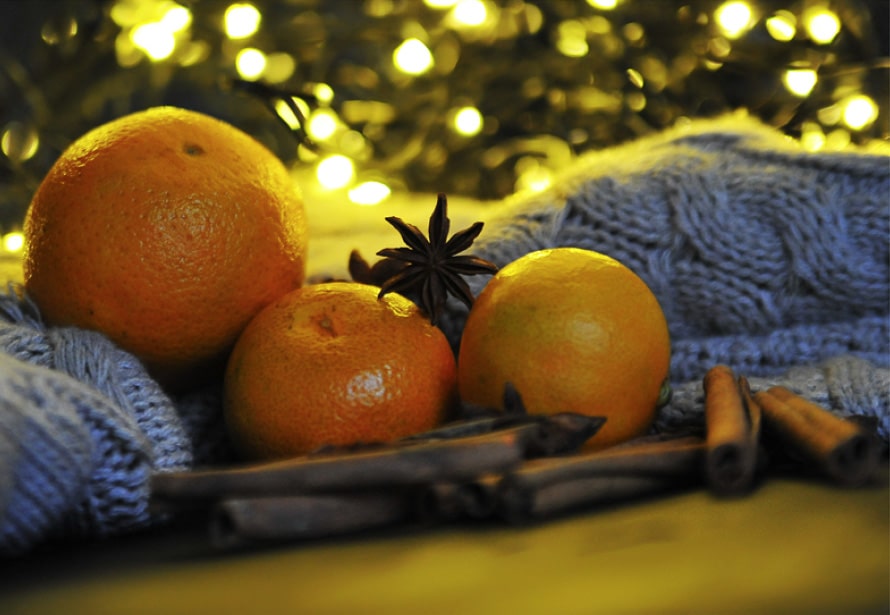
It’s quite easy to create artificial bokeh.
The holiday season may be over and you’ve packed away those Christmas lights. But wait! Did you know they are the perfect tool to create artificial bokeh when shooting indoors? Now go dig those lights out again, follow these easy steps and learn how to create artificial bokeh yourself
Bokeh really gives an image another dimension, so much aesthetically pleasing than a boring, dull background. Bokeh is a huge favourite with movie directors, especially in night scenes.
Whatever effects they use in movie making, try and copy their lead and introduce those effects into your photography. The results can be stunning.
Best Lens For Bokeh
It’s best to use a lens with a very wide aperture, such as f/1.4 – f/2.8. A nifty fifty (dedicated 50mm) lens is perfect. You can pick them up for as little as $150 nowadays. If your lens doesn’t stop to f/2.8 or wider, you can still create artificial bokeh, but your bokeh’s size and quality won’t be as good.
As you’ll be shooting in low light, I also recommend using a tripod.
Set your camera’s aperture to the widest setting, preferably f/1.8 or f/1.4 (depending on your lens). To begin with, place the subject at least four to five feet in front of the Christmas lights. The farther away you place the subject, the better the result.
If you are not using a fixed lens, zoom your lens in all the way. For example, if you are using a 24-70mm lens, use a 70mm focal length. The bokeh effect will be better if you zoom in, especially if you are using a higher f/number than f/2.8.
Try to photograph close to the subject. If you are shooting too far away, your artificial bokeh will suffer and appear smaller.
And that’s all you need to know how to create artificial bokeh.

